
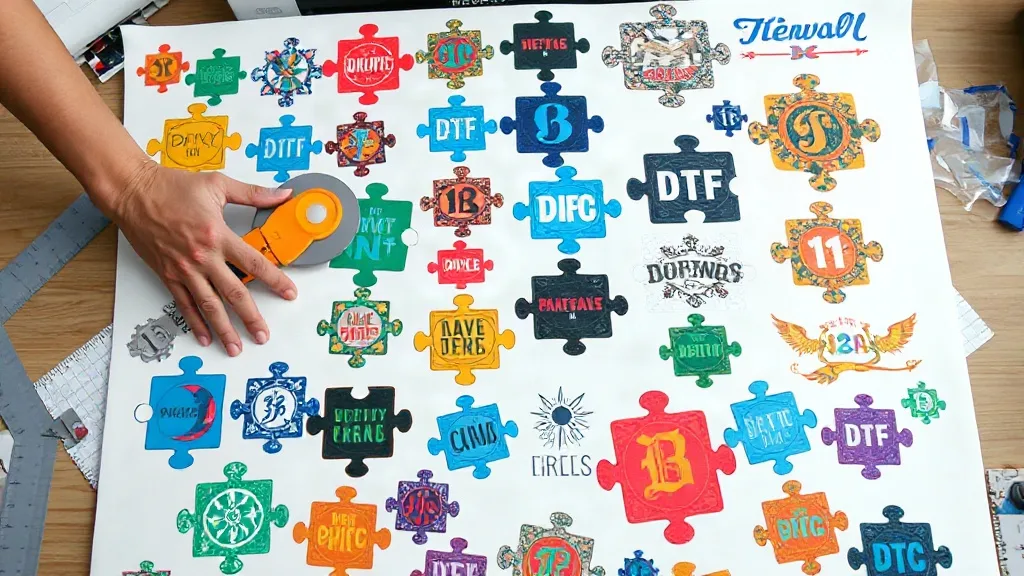
You've probably seen a dozen articles telling you that a DTF Gangsheet saves money. That's true, but the real savings don't come from the file itself; they come from how you build it. A poorly planned gangsheet can waste as much film and ink as printing individual sheets, while a well-crafted one can double your throughput and cut material costs by 30% or more. In this guide, we'll go beyond the basics and show you how to design gangsheets that are not just efficient, but genuinely profitable.
The Profit Equation: Film, Ink, and Time
Before we dive into layout techniques, let's break down the three costs that every gangsheet affects: film, ink, and time. Film is your largest consumable; every square inch you waste is money lost. Ink usage scales with the printed area, but also with how efficiently the printer lays down color. Time is often overlooked, but the more transfers you can fit on a sheet, the fewer sheets you need to print, which means less setup, less cutting, and faster order turnaround.
Your goal with any gangsheet is to maximize the printed area while minimizing the unprinted margins. That sounds obvious, but many shops still leave large gaps because they design by eye instead of using tools. We'll show you how to change that.
Start with a Plan: Know Your Orders
You can't build an efficient gangsheet without knowing what you need to print. Before you open your design software, gather the day's or week's orders. Group them by transfer size and quantity. For example, if you have ten small left-chest logos, five medium back prints, and three large full-back designs, you can plan a sheet that combines them logically.
Consider the fabric and color of the garments as well. While DTF transfers work on almost any fabric, you might want to group similar colors to streamline pressing later. This step is about thinking ahead: the more organized your input, the more efficient your output.
Use Nesting Software (or Manual Nesting Tricks)
Nesting is the art of arranging irregular shapes to minimize wasted space. Professional RIP software often includes nesting features that automatically rotate and position your designs for optimal fit. If you don't have that, you can still nest manually by rotating designs and interlocking them like puzzle pieces. Remember that DTF transfers can be cut closely, so you don't need large gaps between designs. A 2-3 mm gap is usually sufficient for cutting.
Design for the Sheet, Not the Shirt
Many beginners design each transfer as if it were going on a shirt, with generous white space around the artwork. But on a gangsheet, that white space is wasted film. Trim your designs to the edge of the printed area, leaving only the necessary bleed for cutting. If your design has a white outline, consider whether it's essential; sometimes removing it can save significant space.
Also, think about the shape of your designs. Rectangular designs pack more efficiently than circular ones. If you have circular logos, see if you can arrange them in a honeycomb pattern to reduce gaps.
Maximize Film Width: The 60-Inch Advantage
Most DTF printers come in 13-inch, 24-inch, or 60-inch widths. If you have a 60-inch printer, you're in luck: you can fit multiple rows of designs across the width, dramatically increasing yield per linear foot. Even with a smaller printer, you can rotate designs to use the width more effectively. For example, if you have a long, narrow design, printing it horizontally across the film can save length.
Always check the printable width of your film; some rolls have edges that aren't usable. Design within the safe area to avoid cut-off prints.
Color Management: Less Ink, Same Impact
Ink is expensive, especially white ink, which is often used as a base layer. You can reduce ink consumption without sacrificing quality by optimizing your color profiles. For instance, using a rich black (a mix of CMYK) instead of pure black can reduce ink usage while maintaining depth. Also, consider the garment color: if you're printing on dark shirts, you'll need a white base, but on light shirts, you might skip it entirely for some designs.
Another trick: group designs with similar color palettes on the same sheet. This reduces the number of ink changes and cleaning cycles, saving time and ink.
Cutting and Weeding: Plan for Efficiency
After printing, you'll need to cut out each transfer. If your designs are arranged in a grid with consistent spacing, cutting becomes faster and more accurate. Use a rotary cutter or a guillotine cutter for straight lines, and consider investing in a die-cut plotter if you do high volume. But even with manual cutting, a well-organized sheet with clear cut lines (either printed or implied) will speed up the process.
Also, think about how you'll weed (remove excess film). If designs are too close, weeding can be fiddly. Leave a small margin around each design for easy handling.
Real-World Example: From Chaos to Profit
Let's say you run a small print shop and receive an order for 50 t-shirts with a left-chest logo and 30 hoodies with a large back print. Without a gangsheet, you might print each transfer individually, using 80 sheets of film. With a gangsheet, you can fit 20 left-chest logos on a single 24-inch wide sheet, and 5 back prints on another. You'd need 3 sheets for the logos and 6 for the back prints, totaling 9 sheets. That's a 90% reduction in film usage. Plus, printing 9 sheets takes far less time than 80, freeing you up for other jobs.
But the savings don't stop there: less film means less shipping weight, less storage space, and less waste disposal. It's a win for your wallet and the environment.
Common Mistakes to Avoid
- Overcrowding: While you want to maximize space, leaving no gap between designs can cause cutting errors and ink smudging.
- Ignoring grain direction: DTF film has a grain, and printing against it can affect adhesion. Always orient designs consistently.
- Forgetting bleed: If your design has a white border, ensure it's accounted for; otherwise, you might cut into the image.
- Not updating software: Nesting algorithms improve with updates; keep your RIP software current.
Frequently Asked Questions
How do I calculate the cost per transfer on a gangsheet?
Divide the total cost of film, ink, and labor for the sheet by the number of transfers. For example, if a sheet costs $10 to produce and yields 20 transfers, your cost per transfer is $0.50. Compare this to printing individually to see the savings.
Can I mix different designs on one gangsheet?
Absolutely. In fact, mixing designs is the whole point. Just ensure they are arranged efficiently and that you keep track of which design goes where for cutting.
What's the best software for creating gangsheets?
Adobe Illustrator and CorelDRAW are popular for manual layout, but dedicated RIP software like Cadlink or Wasatch offers automatic nesting and color management. Choose based on your volume and budget.
How do I handle different sizes on one sheet?
Group similar sizes together to maximize space. For example, place all small logos in one area and large designs in another. Use nesting tools to fill gaps with smaller items.
Is there a minimum order for gangsheets?
That depends on your printer or supplier. Some require a minimum square footage, while others allow any size. At DTF Worlds, we cater to all sizes, so you can order exactly what you need.
Ready to put these strategies into practice? Visit DTF Worlds to explore our gangsheet services and start maximizing your profits today.